A regular question we get at Assignar is: Can you integrate Assignar with X, and can Assignar import/export my data to and from X?
The answer is yes and there are a couple of options to integrate Assignar and import/export data.
1. You can use the Assignar API to have full programmatic control of the import process
2. Zapier – Zapier is a third party solution that allows you to integrate over 1,000+ apps with Assignar. Using Zapier, you can set up an integration between the other apps you use to manage your work, like Google Sheets, Quickbooks, Procore, Microsoft Office so that new information in these apps get automatically added into Assignar, or trigger outbound workflows based on Assignar events of your choice.
In this article, we’ll focus on getting you data imported into Assignar using Google Sheets. However, this process can be implemented using any of the other 1000 apps that you may use today.
If you’re able to get your data into a spreadsheet format like an Excel or CSV file, you can use Google Sheets as an intermediary app in creating a workflow that can import data from your app into Assignar.
1. Integrate Assignar by setting up the Google Sheets spreadsheet
First, export your data from your first app into a format like a CSV file. In Row 1, copy in the column headers from your imported spreadsheet file:
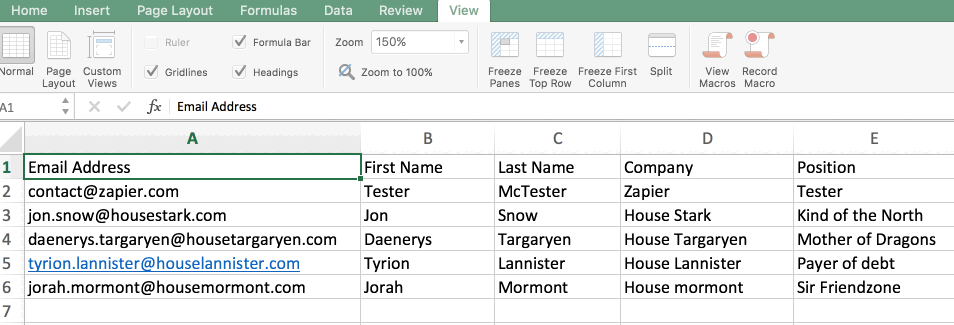
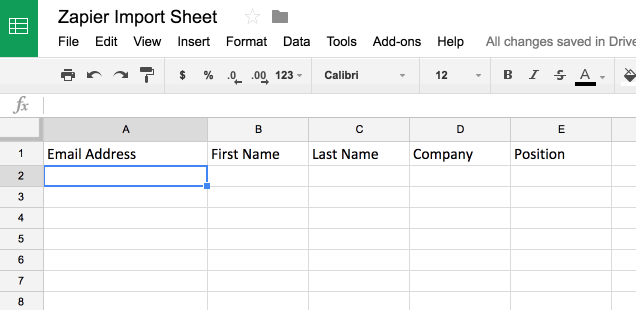
From there, paste the data in row 1 of the Google Sheets spreadsheet:
Now, go back to your imported spreadsheet file, copy the second row of data:
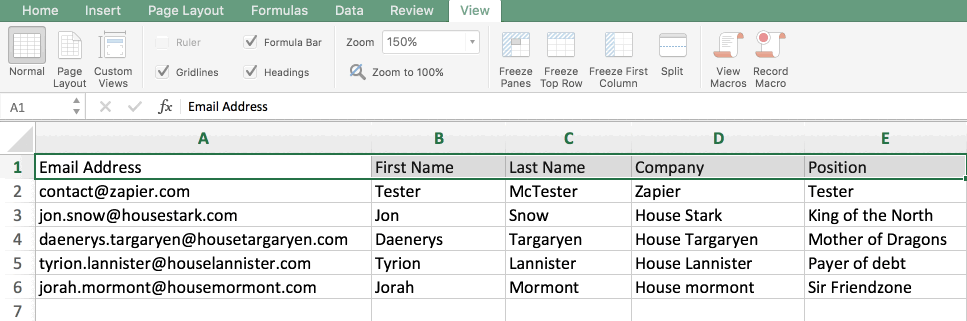
Paste the data in row 2 of the Google Sheets spreadsheet:
2. Create the Google Sheets Zap
Create a new Zap. When you set up the trigger, select Google Sheets as the app and select New Spreadsheet Row as the trigger event. Select the new Google Sheets spreadsheet that you’ve created in the first step.
Next, set up the action and select Assignar app to send the data to.
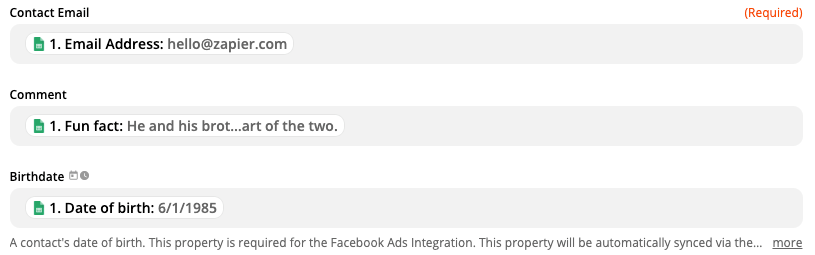
When you set up the action, you should see all the columns from the spreadsheet as available fields, which you can use to customise your action.
When you’re done, turn on your Zap.
3. Copy your data to your Google Sheet
Now that your Zap is turned on, you can copy the remaining data from the imported spreadsheet into the Google Sheet spreadsheet. Make sure that you’re properly pasting the data to the right columns. After you’ve copied your data into the spreadsheet, the Zap you’ve created will trigger from these newly-added rows.
[box type=”info”] Note
If you have hundreds or thousands of rows in your spreadsheet, you may get throttling errors if you try to copy them all at once. It is recommended to copy them at a rate of less than 100 rows every 20 minutes so that you don’t run into throttling issues.
[/box]
[box] Tip
If you have multiple types of objects you want to create, such as Contacts, Assets, Users, etc., you will need a different Zap for each of those, as they will each require a different action from the Zap.
[/box]
Here are some of the most popular Assignar + Zapier integrations, and you can try them out from this blog post! Come back to this page and see our up-to-date list of pre-configured integration templates.
Want to learn more?